Metacafe
is a community based video sharing web site, that specializes in
short-form original entertainment, where users upload, view and share
video clips. The site features short-form videos in a variety of
categories, including Animation, Comedy, Entertainment, How To, News and
Events, People and Stories, Sports, Video Games and others. Original
content is uploaded to the site by independent video creators, small to
mid-sized production groups, and major media companies. In you prefer
enljoy Metacafe Videos on TV system to online-watching, you can burn
Metacafe videos to DVD or Blu-ray disc. But how to burn the funning
Metacafe videos to DVD or blu-ray disc? Here our programs can help you
burn your desired Metacafe videos to DVD.
Any Video Converter and
Any DVD Converter Professional feature a new characteristic: both of them can
burn Metacafe video to DVD with DVD Menu.
Here the following is a brief guide on how to burn Metacafe video to DVD/Blu-ray disc.
Step 1 : Add/Download Metacafe video to the program.
If you have downloaded the Metacafe Videos from the website and saved in your computer disc, you just need click
Add Video button or go to menu
File >
Add Video Files
to select your desired video clips from your hard drive. But if you do
not download the Metacafe Videos, with Any Video/DVD Converter, you can
download videos from Internet and then burn it to Blu-ray disc.
unsecured loans
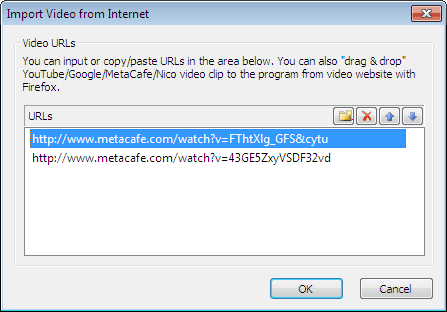
Firstly, you need to visit
Metacafe.com
and right-click on the desired video to choose Copy Link Location (this
is for Firefox users) or open the video and then copy the URL from the
navigation bar (this is for IE users).
Secondly, you can click online video download button to begin download Metacafe directly.
Or you can choose
File> Import Video to from Internet to begin downloading videos.
Thirdly, paste the link in the program
After you have downloaded the
Metacafe Videos, all of them will
be displayed on the middle panel with their detailed information,
including duration, format and size, etc.
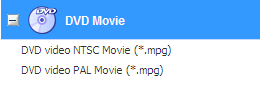
Step 2 : Choose Burning to DVD output profile.
Please unfold Output Profile, choose
Burning to DVD from the list, and then choose
DVD video NTSC Movie or
DVD video PAL Movie according to your TV system.
Step 3 : Click Convert button to start encoding Metacafe Videos.
Once everything is ready, you can click on
Convert
to start the exporting process. If you would like to cancel encoding,
please just click the Stop button and click Yes in the pop-up window
then the encoding will be stopped.
Step 4 : Choose DVD Menu.
You will be prompted to choose
DVD Menu when the program finishes Metacafe video conversion process.
--In
DVD Menu Tile, you can name your DVD and input it into the box directly.
--In
Background Music, you can browse music file from your local computer for your DVD.
--In
Background Image, you can change your DVD's background image by click Browse Image File to select your desired image from your computer.
bad credit loans
--In
Menu Navigator, you can choose the playback mode for your DVD.
After you have made sure the settings, please click Next>> to follow the next step.
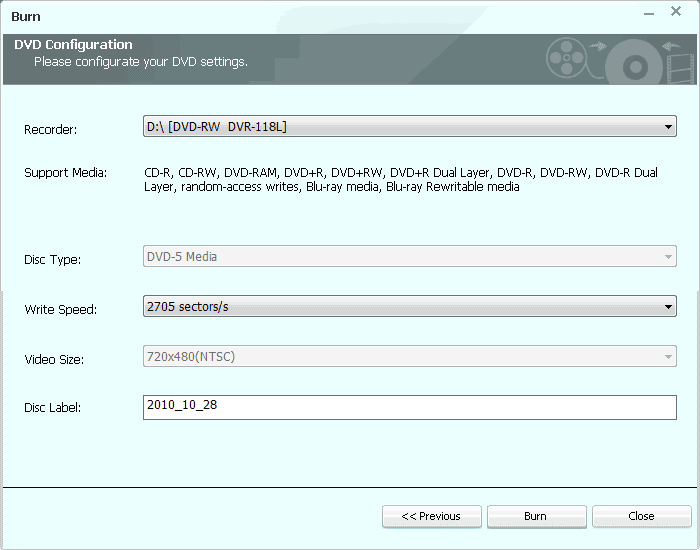
Step 5 : Insert DVD and start burning Metacafe video to DVD
In
DVD Configuration, you can see the following pop-up window;
The program supports burning video to CD-R, CD-RW, DVD-RAM, DVD+R,
DVD+RW, DVD+R Dual Layer, DVD-R, DVD-RW, DVD-R Dual Layer, random access
writes, Blu-ray media, Blu-ray Rewritable media.
Insert a DVD media to the DVD burner, select
recorder from the drop-down list, enter your desired
Disc Lable, and then click
Burn button, then the program will begin to burn video to DVD.
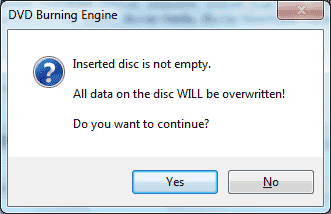
Note: If the inserted disc is not empty, you will be prompted to erase the disc. Click
Yes, all data on the disc will be overwritten!
You can see the progress of burning
Metacafe video to disc:
After the program finish to burn Metacafe video to DVD, it will pop up a
DVD Burning Engine to congratulate you that your disc has been successfully burned.
Click
OK button, the drive automatically ejects the disc.
Now your Metacafe video have been burned successfully to DVD/Blu-ray disc, just have fun!


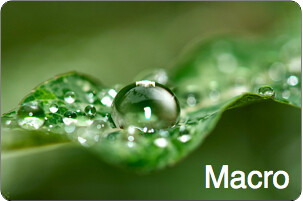 When doing macro photography I almost exclusively switch to manual focusing.
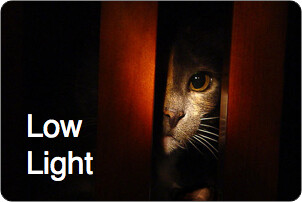 Shooting in dimly lit environments can be difficult for some cameras and lenses when it comes to focusing.
 When shooting portraits focus needs to be precise.
 If
you’ve ever shot through anything like a window or a mess/wire fence
you’ll know how cameras will often get confused on where to focus your
shot.
If
you’ve ever shot through anything like a window or a mess/wire fence
you’ll know how cameras will often get confused on where to focus your
shot.
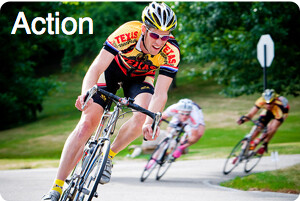 Shooting
fast moving subjects (like racing cars, planes, bikes, running animals
etc) can be a frustrating experience when shooting with auto focus.
Shooting
fast moving subjects (like racing cars, planes, bikes, running animals
etc) can be a frustrating experience when shooting with auto focus.


 But those items aren’t just a tax
  When you’re spending all day taking photos and you don’t want to take the time to change the lens. So pro
  No day will ever be the same as your wedding day. Wedding photographers go out of their way to find the little things that make the experience so special. Take the time to photograph rings, garters, floral bouquets, and everything else that sets the scene. All of this provides context for your more traditional wedding photos.


 The best way to do this is to set it on fully automatic. Look for a symbol on your camera's mode dial that looks like a rectangle. When your camera is on automatic, all important settings such as ISO, Aperture and exposure are made for you, taking out the guess work.